4-Step DIY Mini Plant Wall
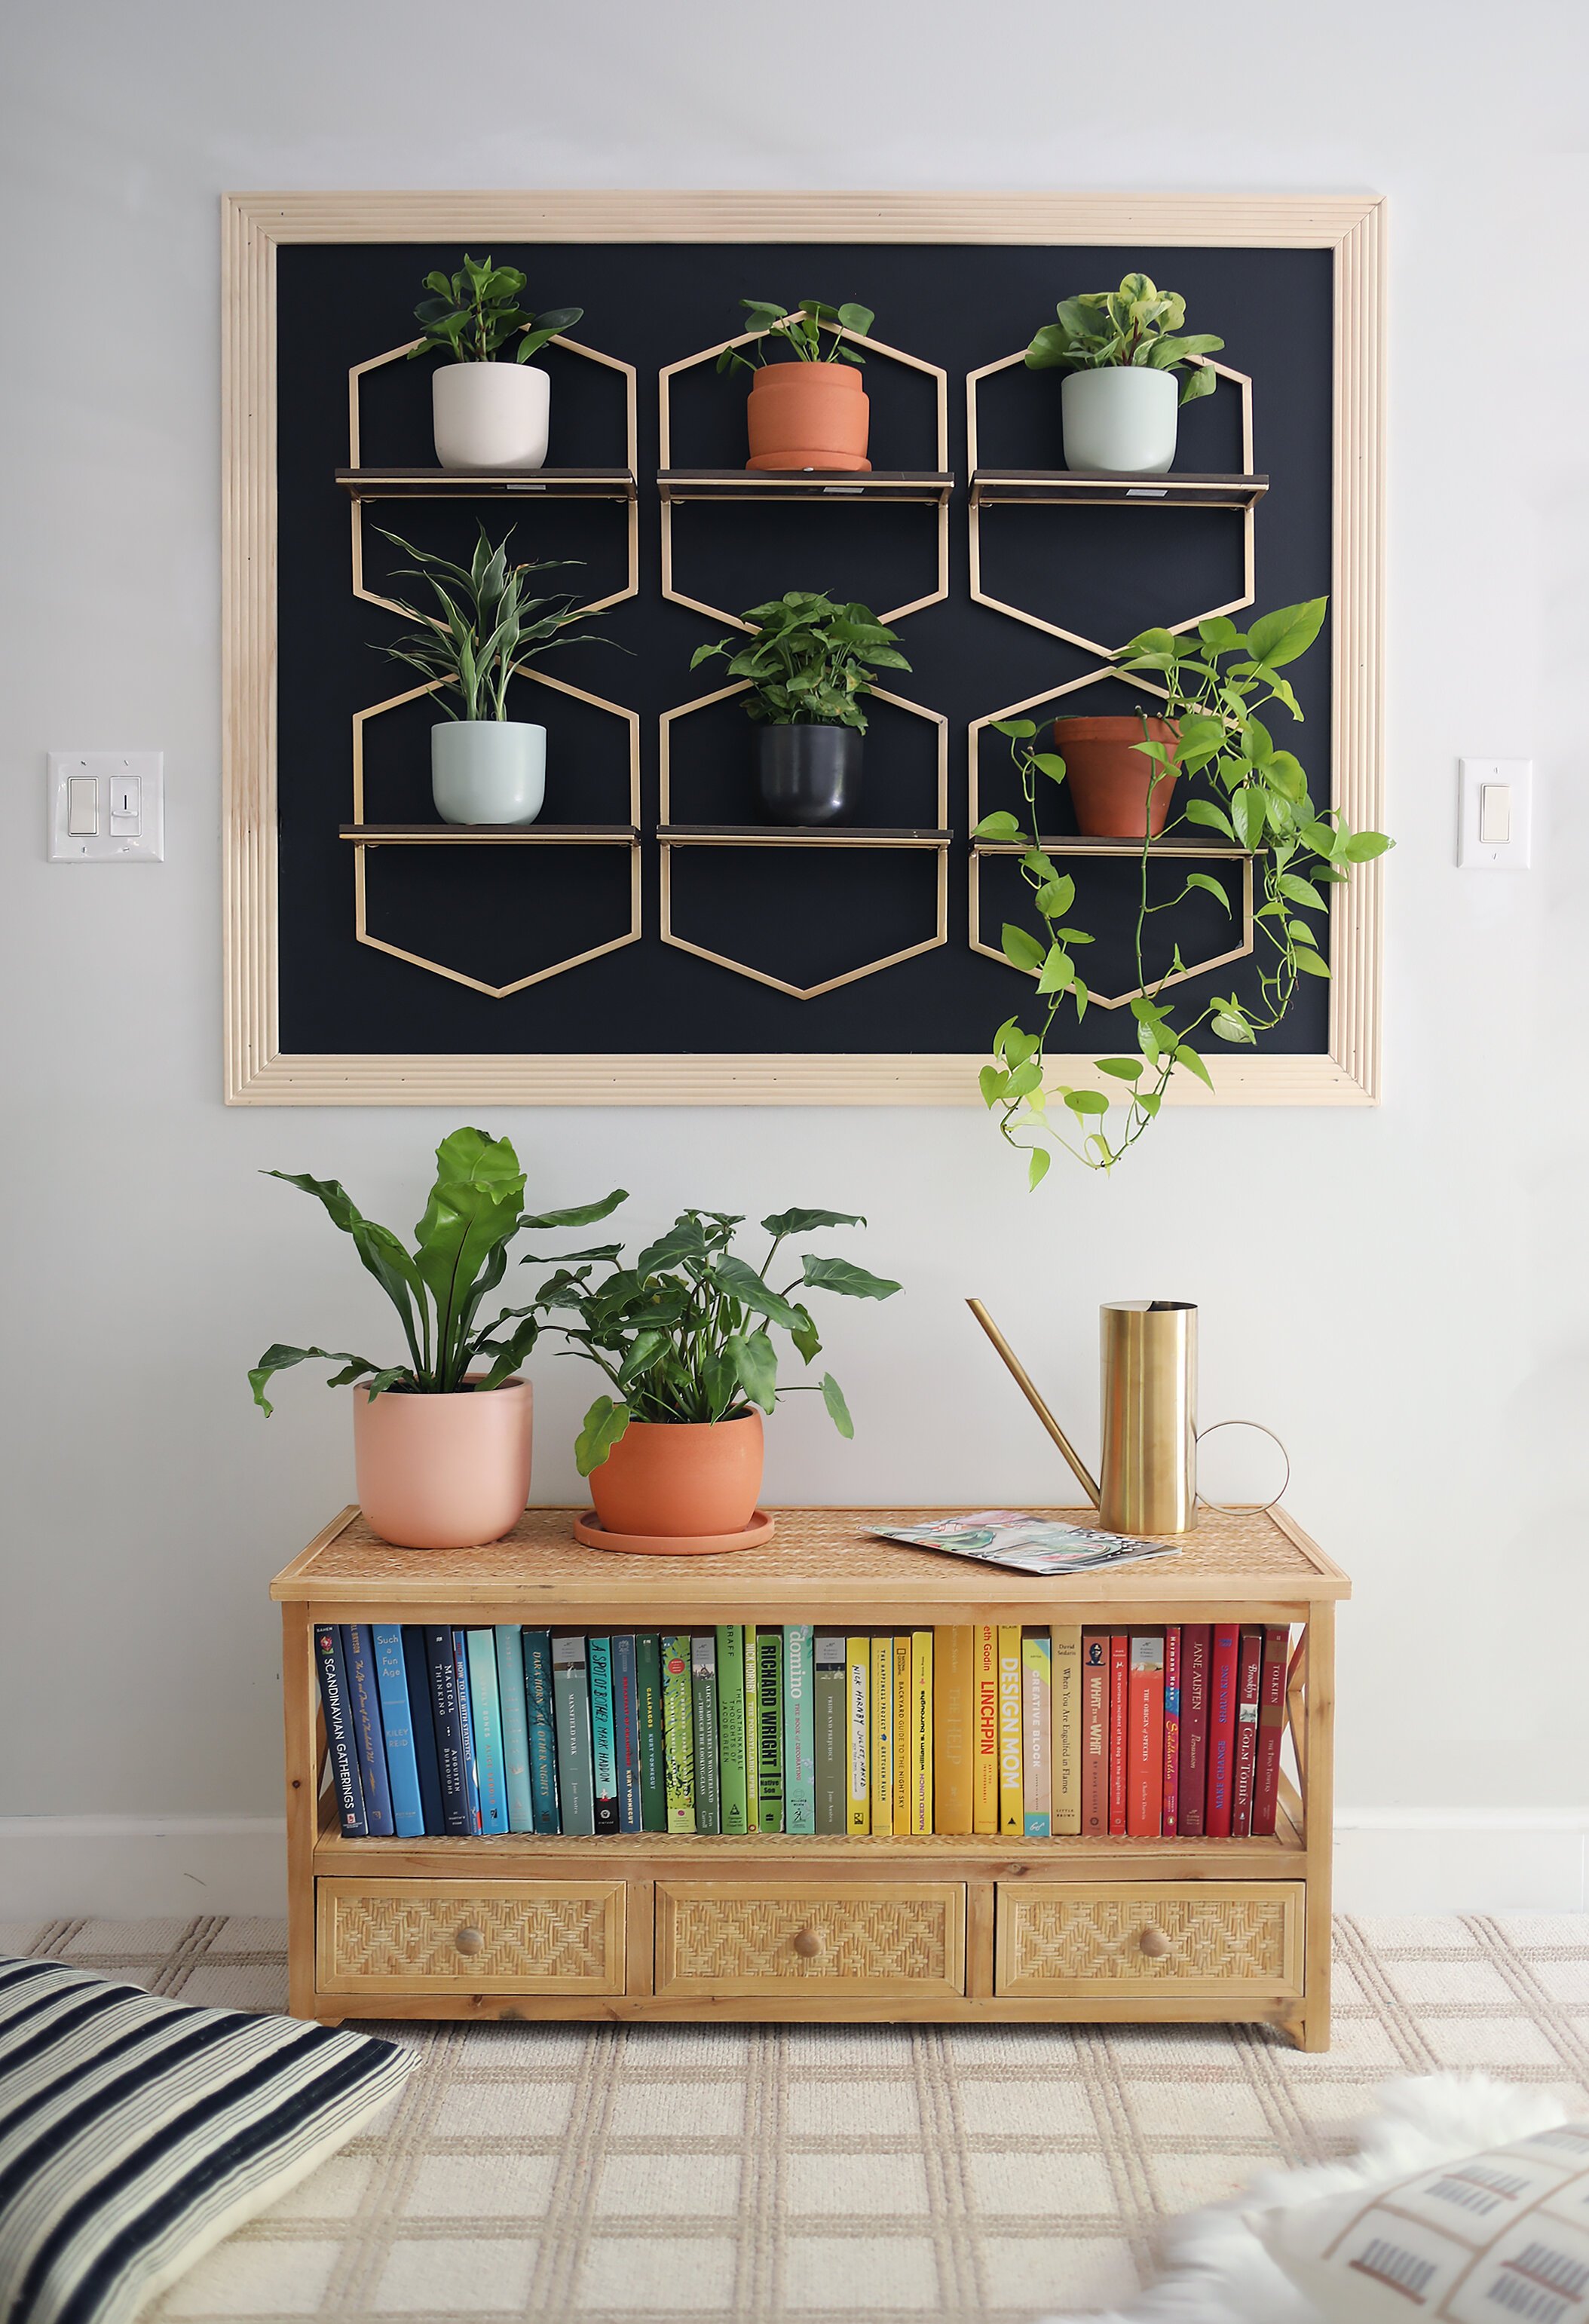
This easy-peasy plant wall came together quickly and adds
some pops of life into our bonus room. Get the tutorial below!

Hello friends!
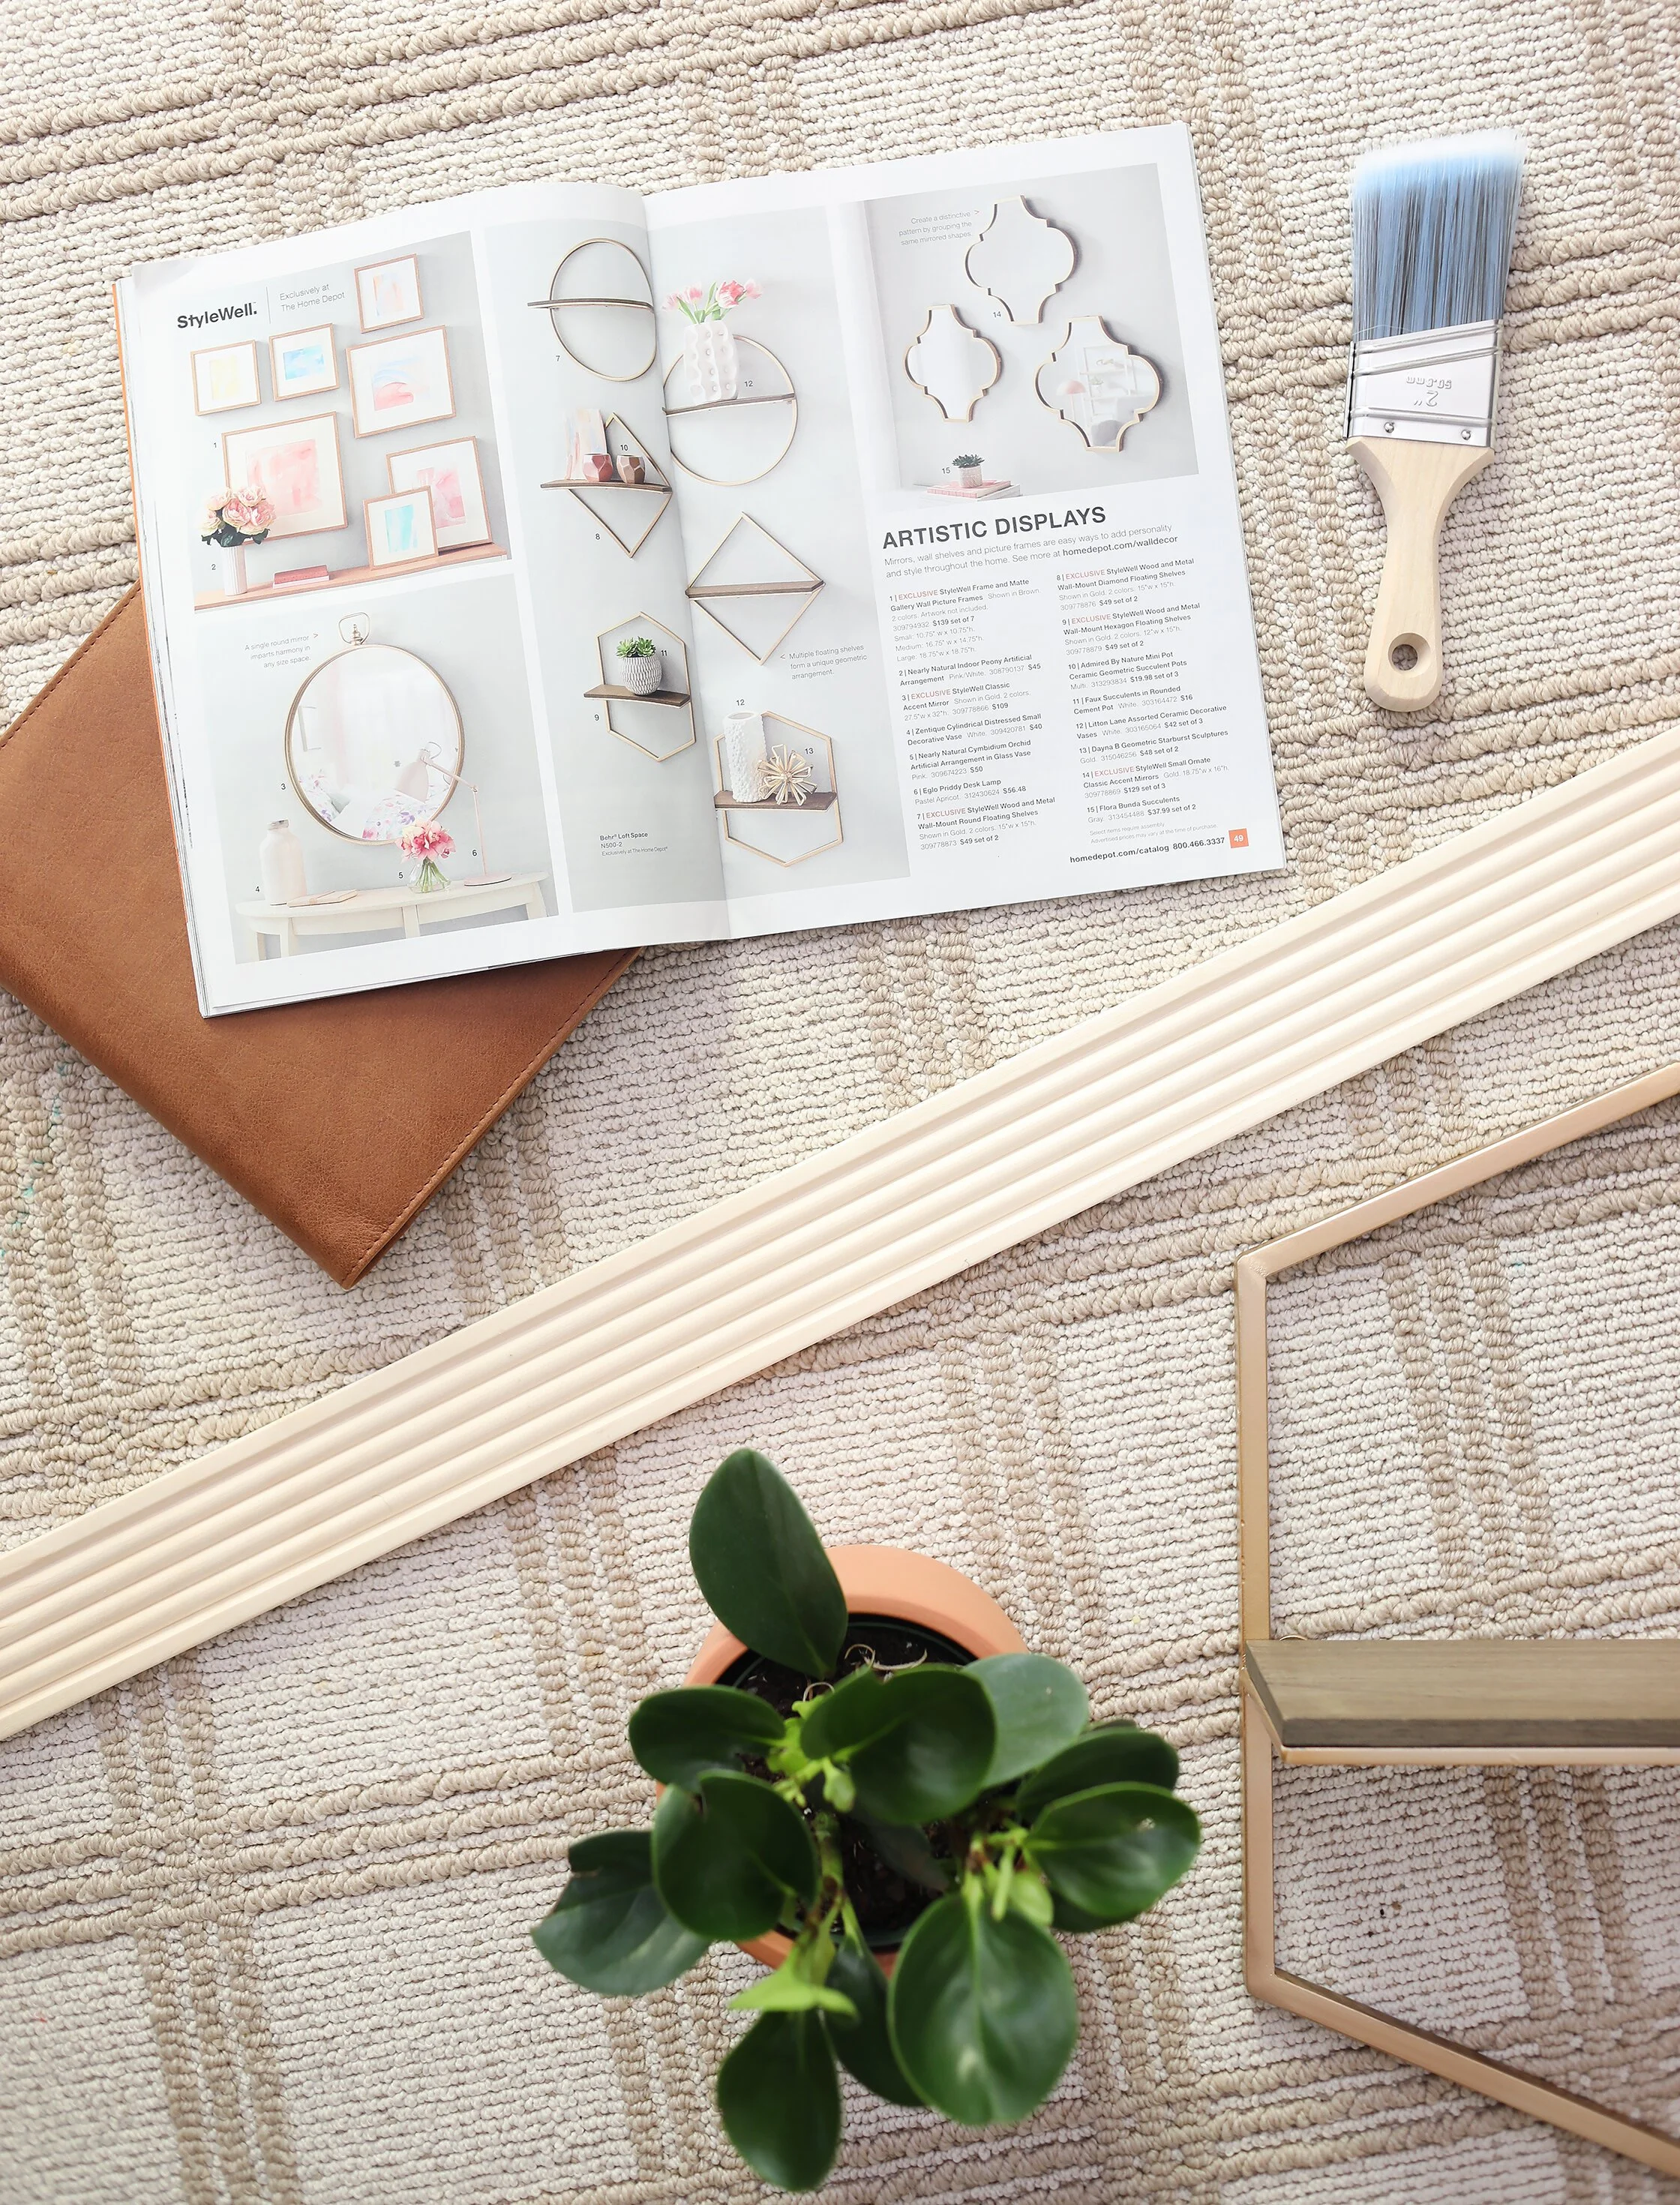
Today I’ve got a fun little DIY with some help from my friends at The Home Depot! I challenged myself to pick one item from their spring catalog and bring it to life in a room in my home.
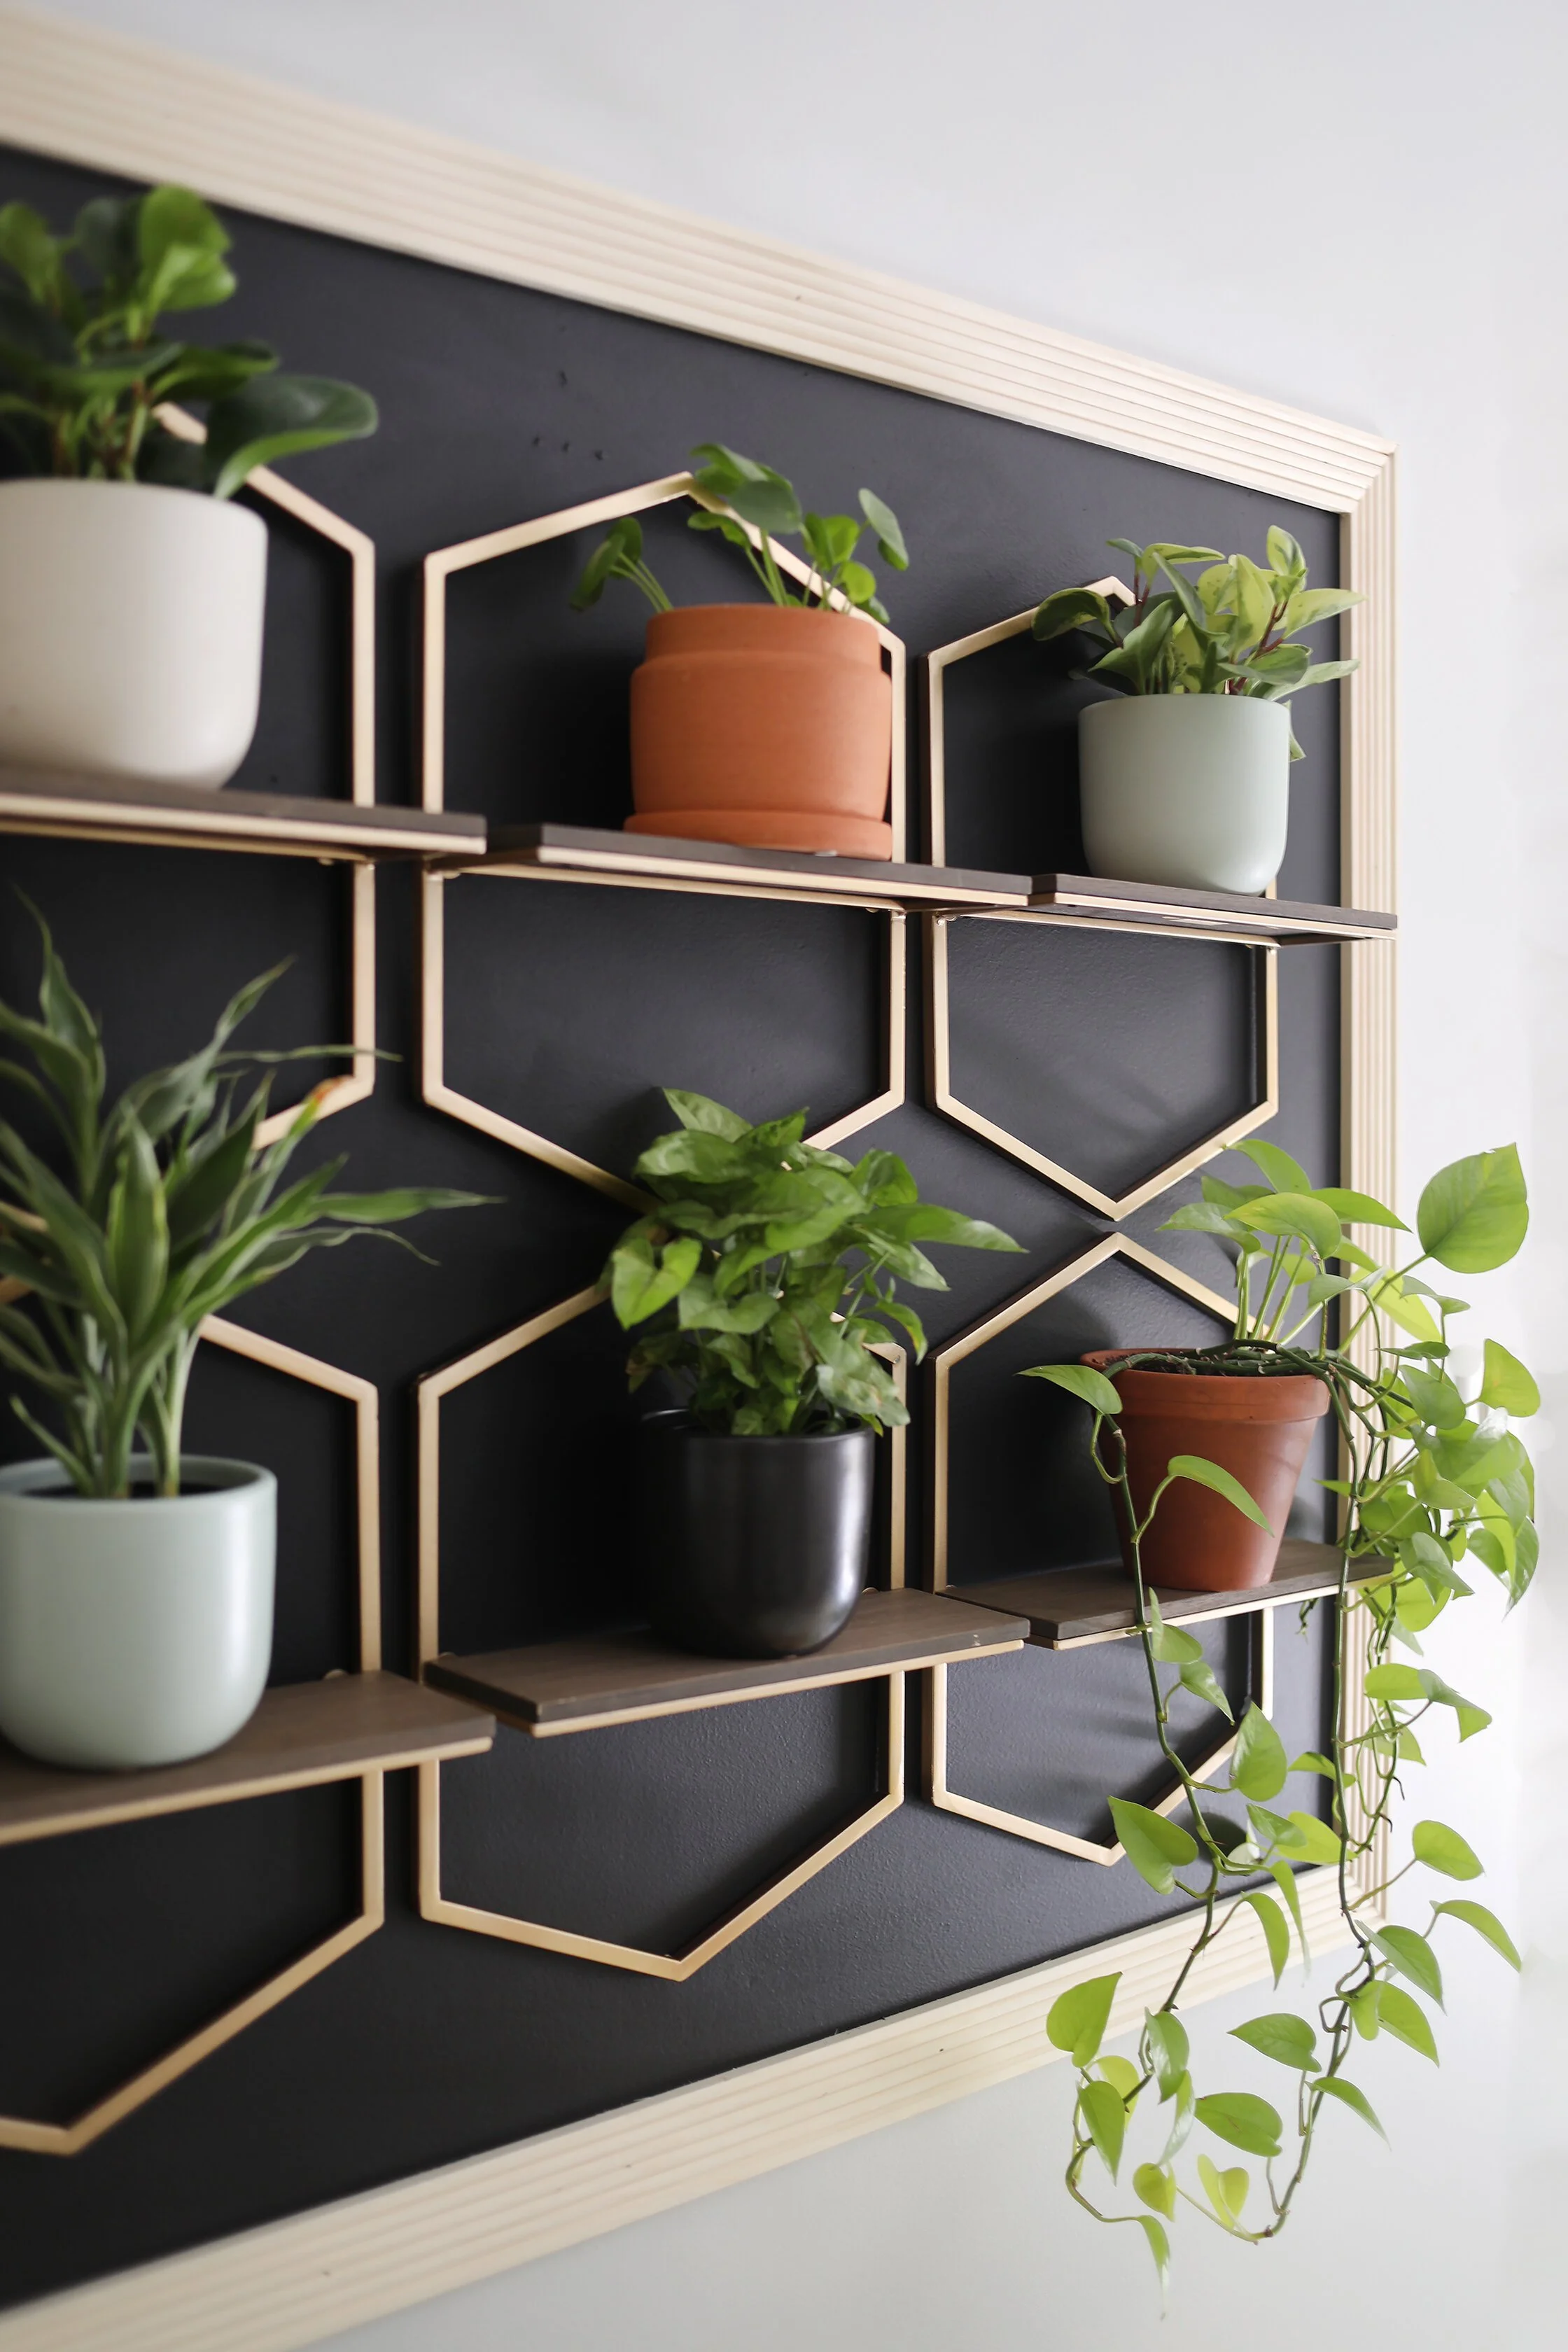
I chose a few sets of those hexagon floating shelves and made a petite plant wall with a mix of chalkboard paint, a few pieces of beaded wood casing and the plants of course!


Items you will need:
A blank wall, preferably well-lit with lots of natural light for the plants
a miter saw (to cut the casing)
6 small potted plants 1 / 2 / 3 / 4 / 5 / 6 (or you can use plants that are already in your home if you don’t want to purchase new)
3 sets of hex shelves
trim nails
hammer
optional:
nailer kit
wood putty

Step 2:
Once you have the area painted, it’s time to cut those pieces of wood trim. I chose the beaded casing because I liked the shape and texture it adds and the pop against the black paint. Get more than you need because inevitably you will mess up and need more. (we did) We ended up getting 6 pieces. It is handy to have a miter saw to cut these pieces so I would defintely recommend getting one. We use ours quite a bit for other home improvement-type jobs. If you want to re-create this exact size, we ended up with 2- 49” pieces and 2- 40” pieces.

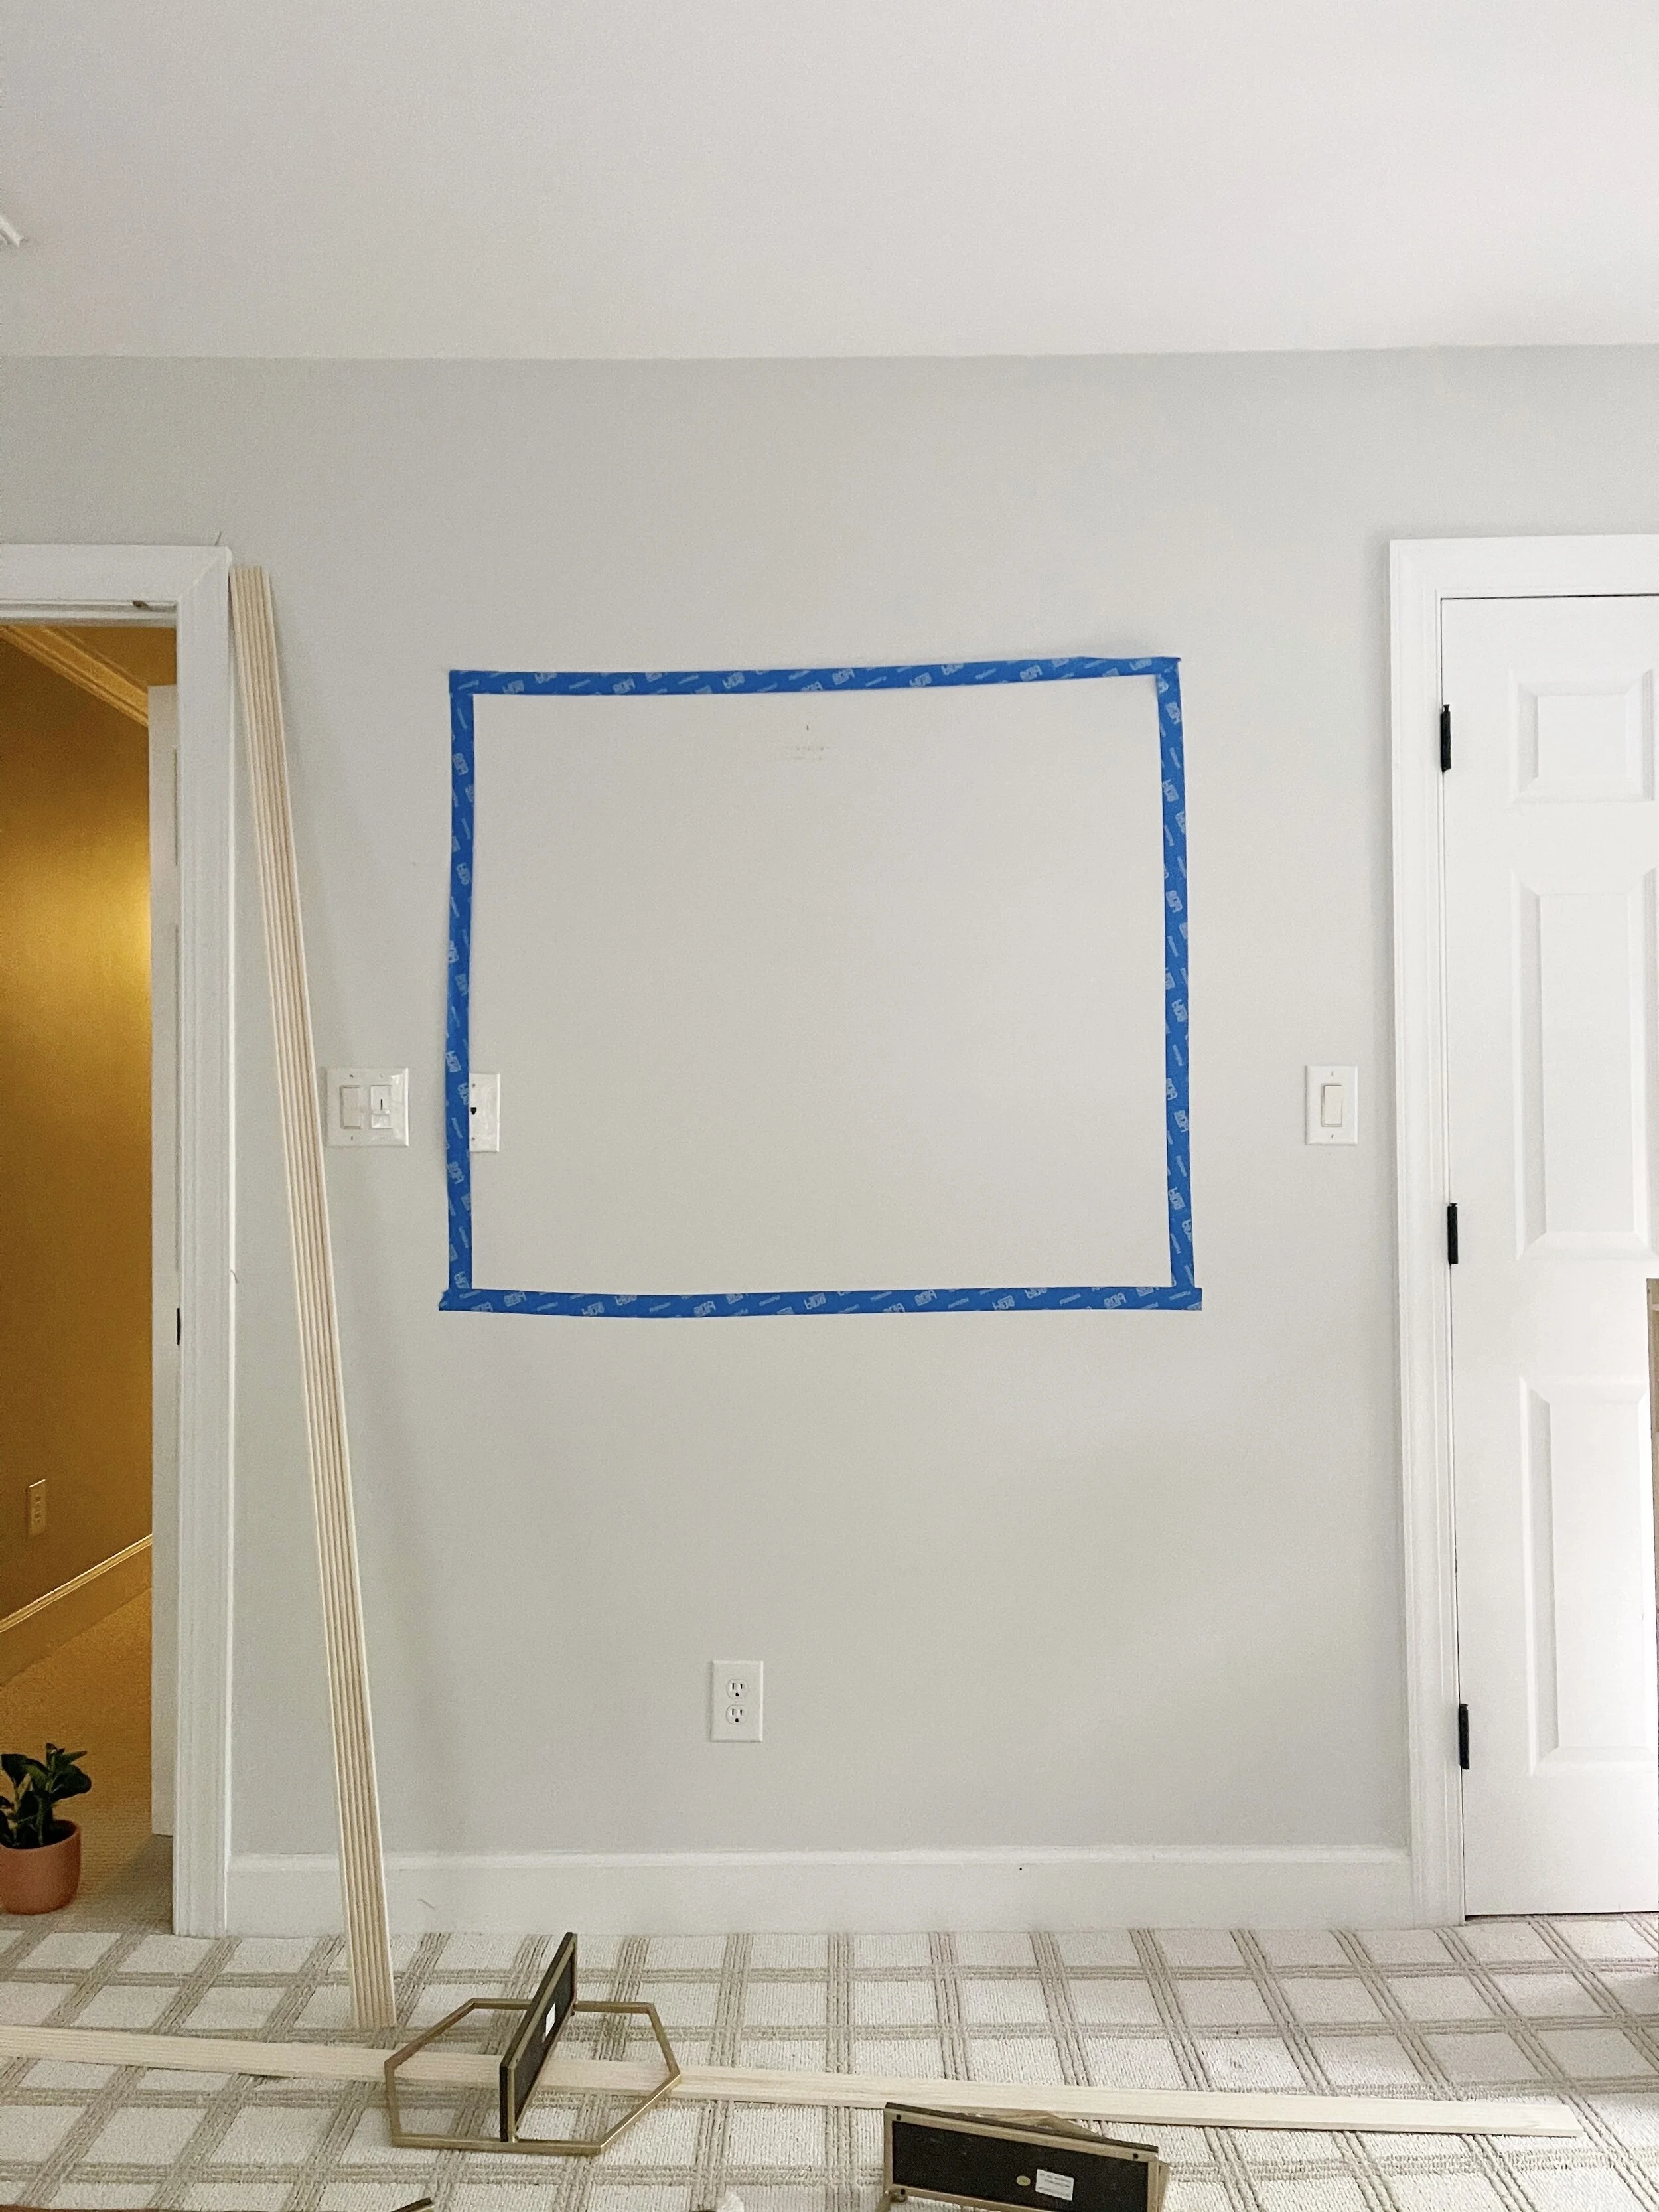
Step 1:
When you have found a nice well-lit spot (I chose a small wall in our bright bonus room between a closet and a door opening), tape off the area and fill in with light coats of chalkboard paint (or any color you prefer!) This particular wall was 6’ x 8’ so I measured out a square to fit between the doors – 40” high by 49” wide.
Step 3:
Time to install and put everything together! I purchased a nailer kit when we were working on the millwork in the gym last year so I had one on hand – but if you don’t have one, you could use trim nails and an old fashion hammer to secure the pieces around the painted area. I didn’t end up covering the nail heads bc I didn’t mind seeing them and they are super small. But to cover those up, grab some wood putty and ultra fine sandpaper to smooth and even everything out.
Step 4:
Hang the shelves! This bit was kinda tricky to get each one lined up evenly. I may have put a few nail holes in this if I’m honest. Lol. Word of advice – measure, measure, measure! Then once you have the shelves where you want, add the little plant babies and enjoy your cute new plant wall!
I had fun flexing my creative and diy muscles a bit on this project! It was honestly so easy especially with help from my trusted assistant (my husband who helped cut the casing). I hope you have enjoyed this and let me know if you are inspired to try one for yourself!
Thanks for reading!